UPDATE February 2024. We weren’t using it enough……. it has moved on. Still the project was cool. In the end I easily switched back to the original dinette, without a trace. New owner happy.
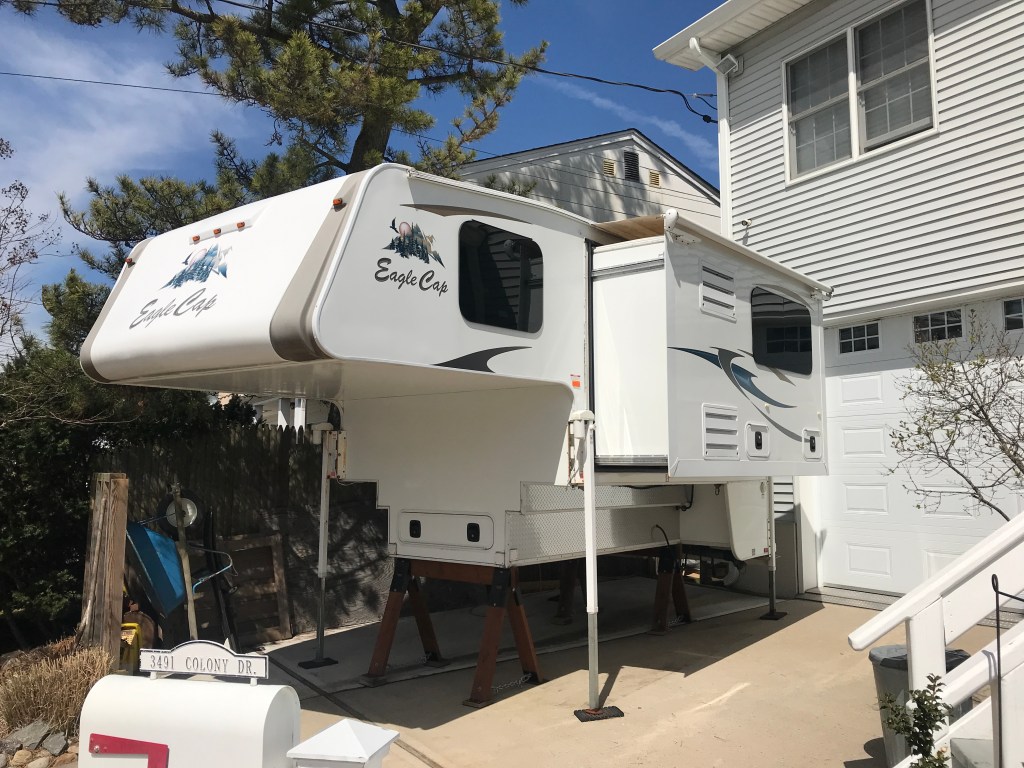
The what? The truck camper. When you’re going to your friends house in Albany for a wedding you can’t just put a 45×14′ camper in their driveway, IF you can even get it down their street. (I’ve made some interesting efforts) So, since we already had a stout truck, the answer was simple: A truck camper. Not an original idea. We did this the last time we had a toy hauler/truck. The new ones were awful and stupid expensive. (Tail of the COVID madness). Then I found this clean 2015 Eagle Cap…..for a I price I could live with.
As parked in seller’s driveway.
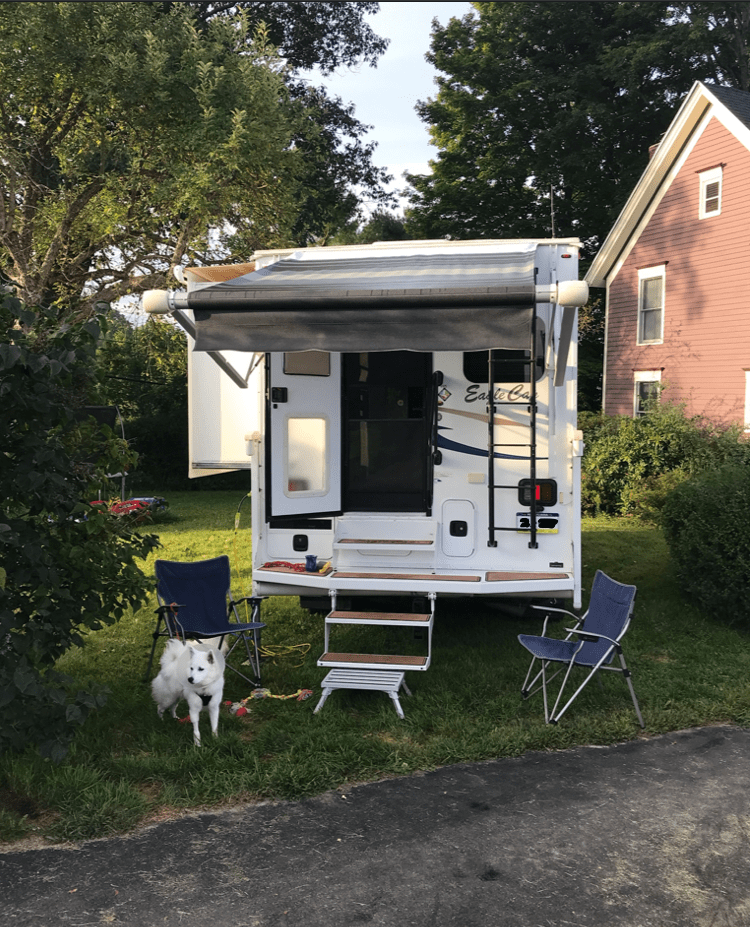
As parked in the front yard of my friend in Albany for his wedding…..

============================================================================================
First thing we did add was a LOT of battery power and an inverter…. Well, actually we didn’t add it to the Eagle Cap, we added it to the truck…. Writeup is in the fifth wheel section: read here.
============================================================================================
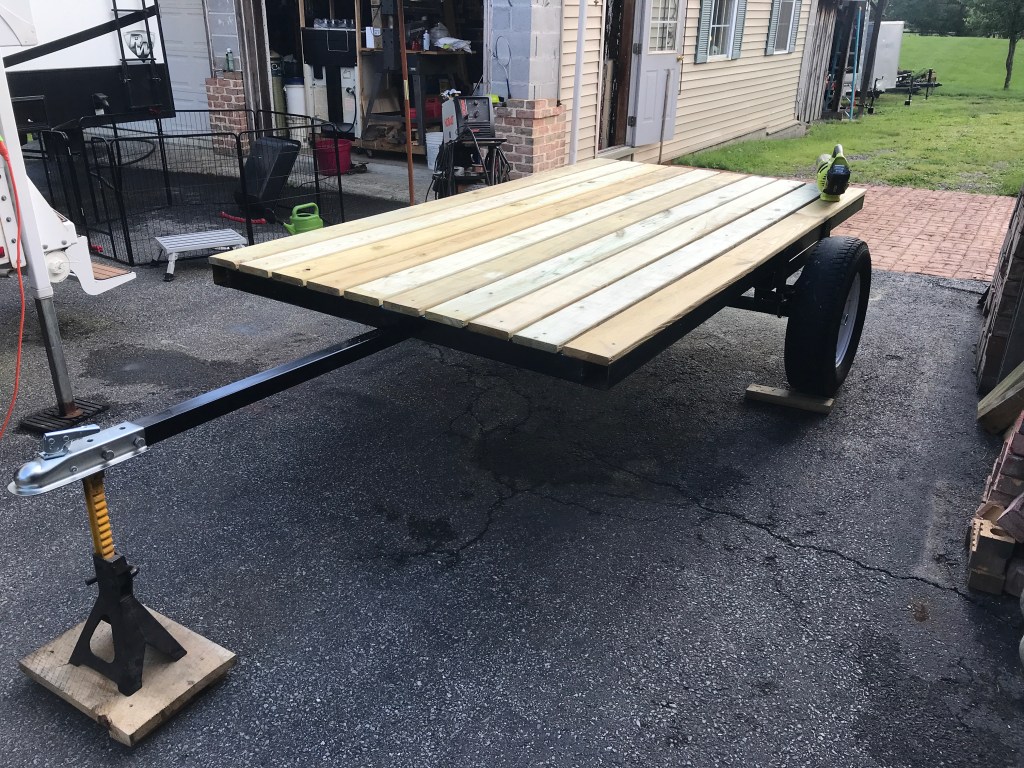
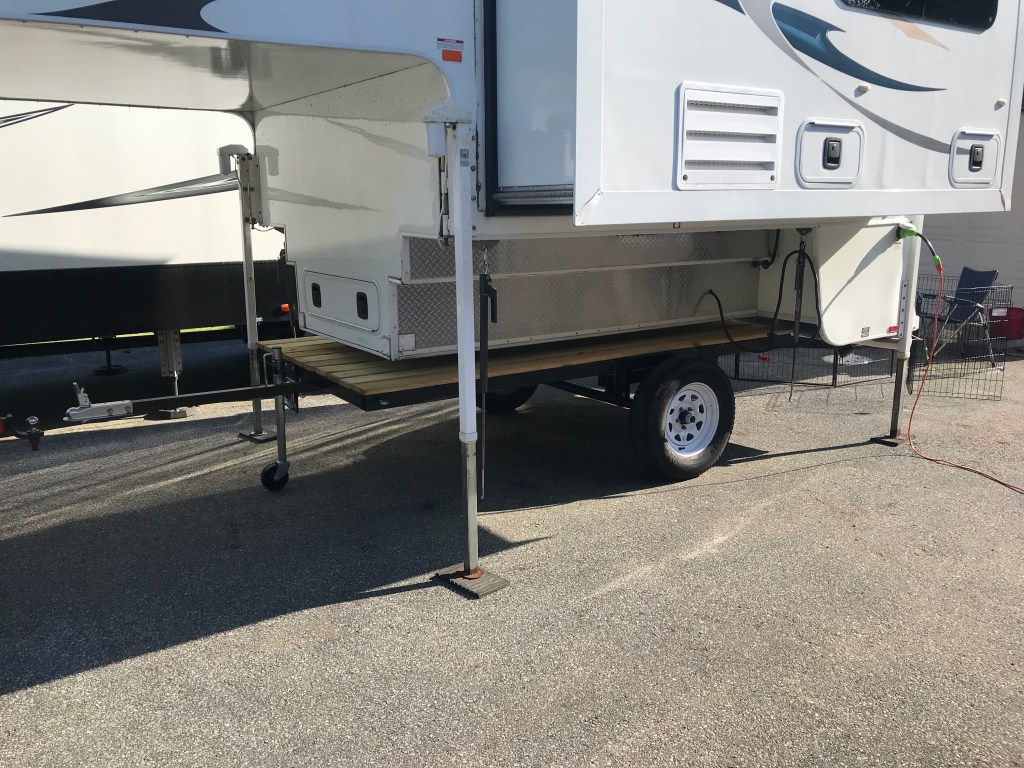
I also made a trailer for it, which makes it easier to move around without having to load it on the truck which does take a little time….

============================================================================================
Then it was time for an interior remodel. We have two canines. They travel and sleep in crates. Two in the back of the truck and two in the camper. 30″x21″x20″ each. That’s a lot of crate, and sitting on the floor moving around got “interesting”. Not happening. So……. Time to rethink the setup. The objective was to get them off the floor, still have a place to sit and to make minimal alterations to the camper so that it could be returned to original…..
Here’s what I started with, the ubiquitous dinette, which does nothing well. It’s uncomfortable to sit and eat, lounge or sleep on when converted. I don’t care for them, so no loss there.

After a lovely fastener easter egg hunt……

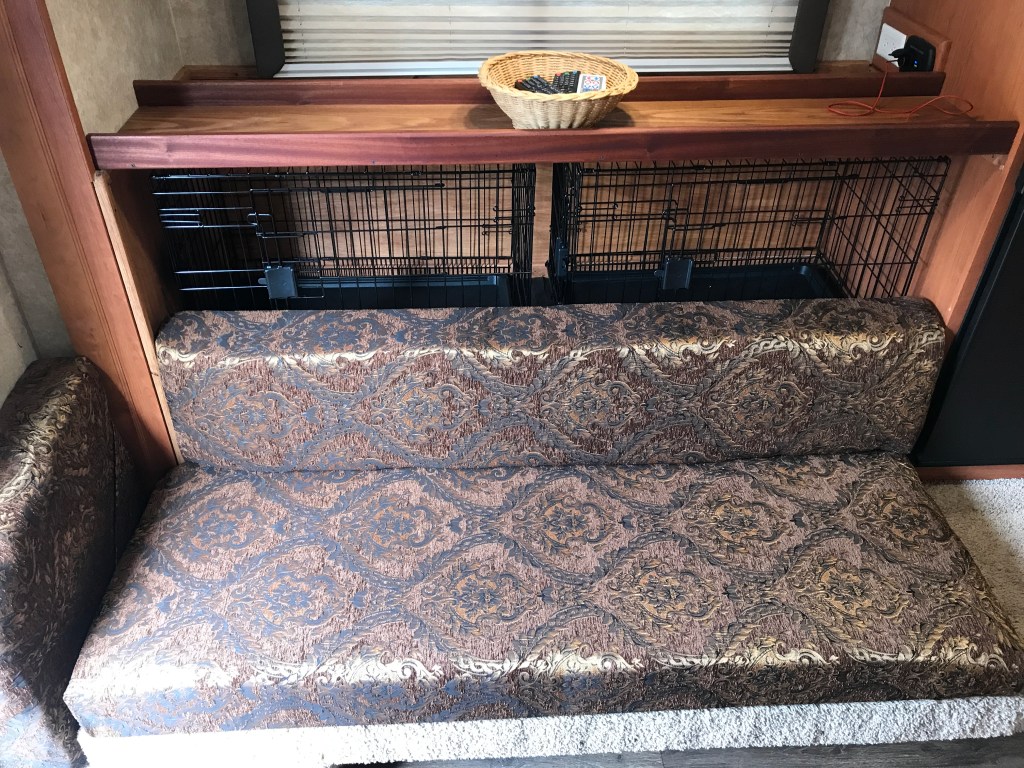
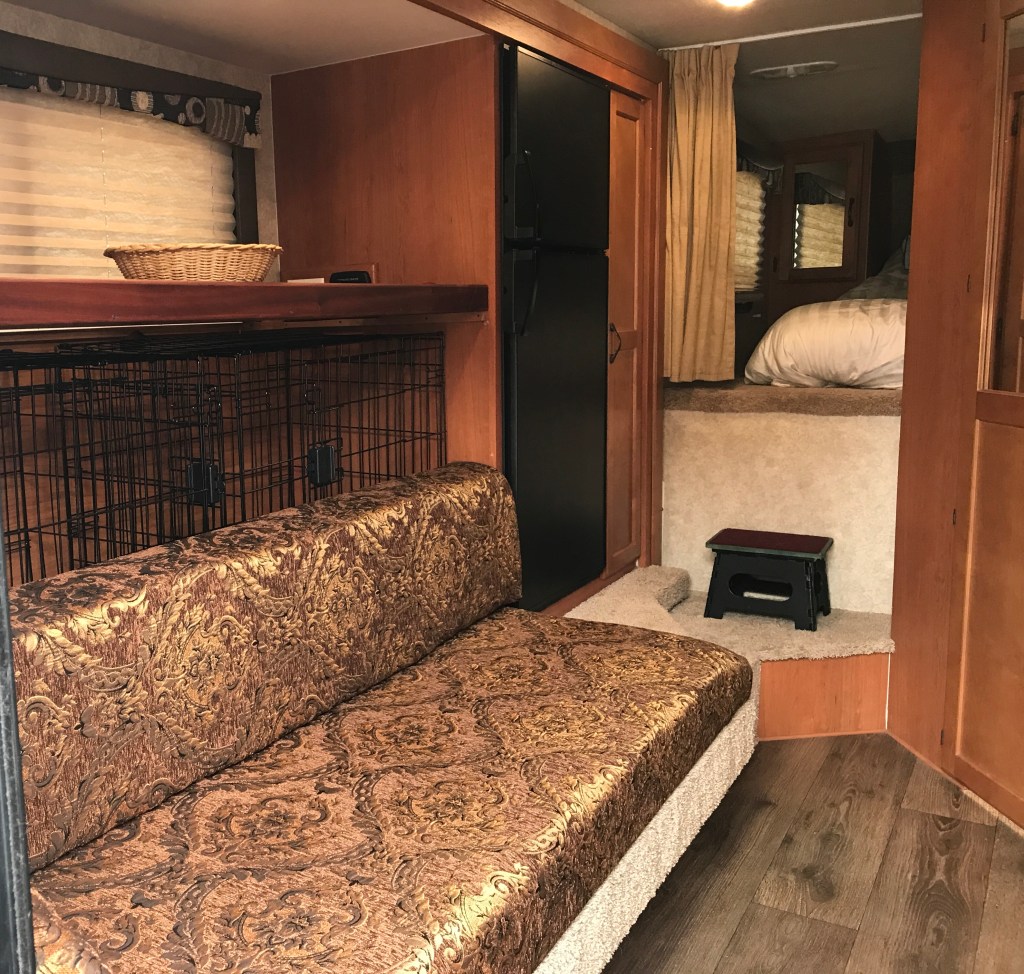
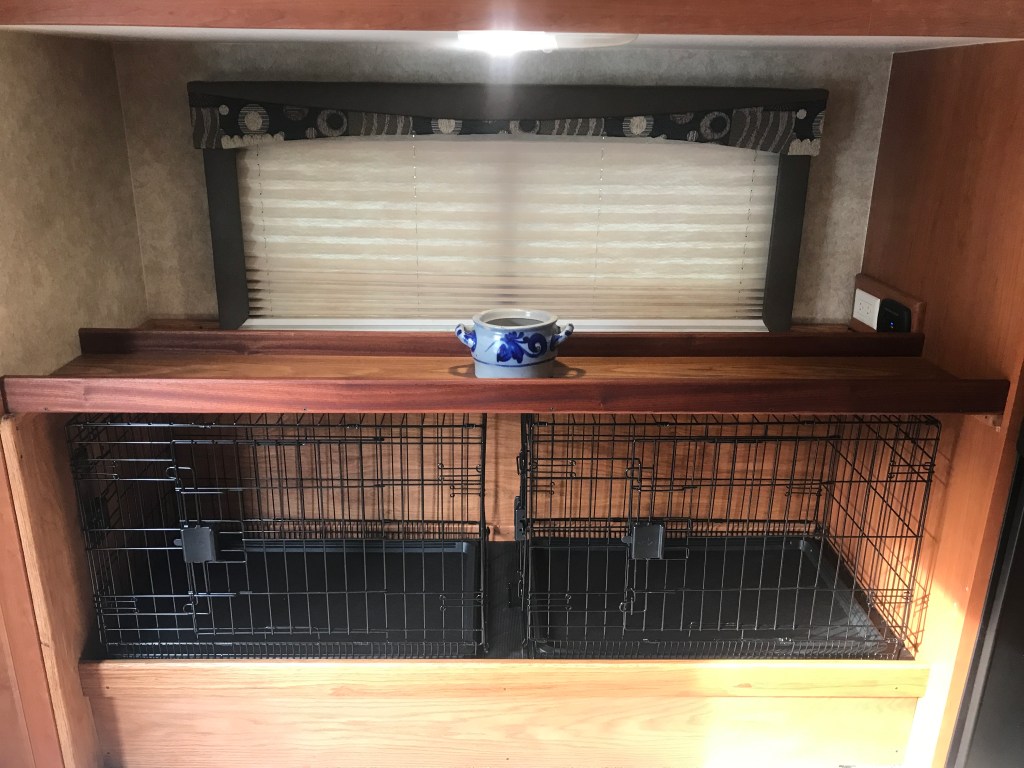
Then I took the crates and put them in the space in the many, many variations possible, visualizing the end result. I needed to keep max storage, inside and outside, and I needed a VERY comfortable spot for one, and reasonable comfort for two. Plus easy access for the puppies…. This is the one that got legs:


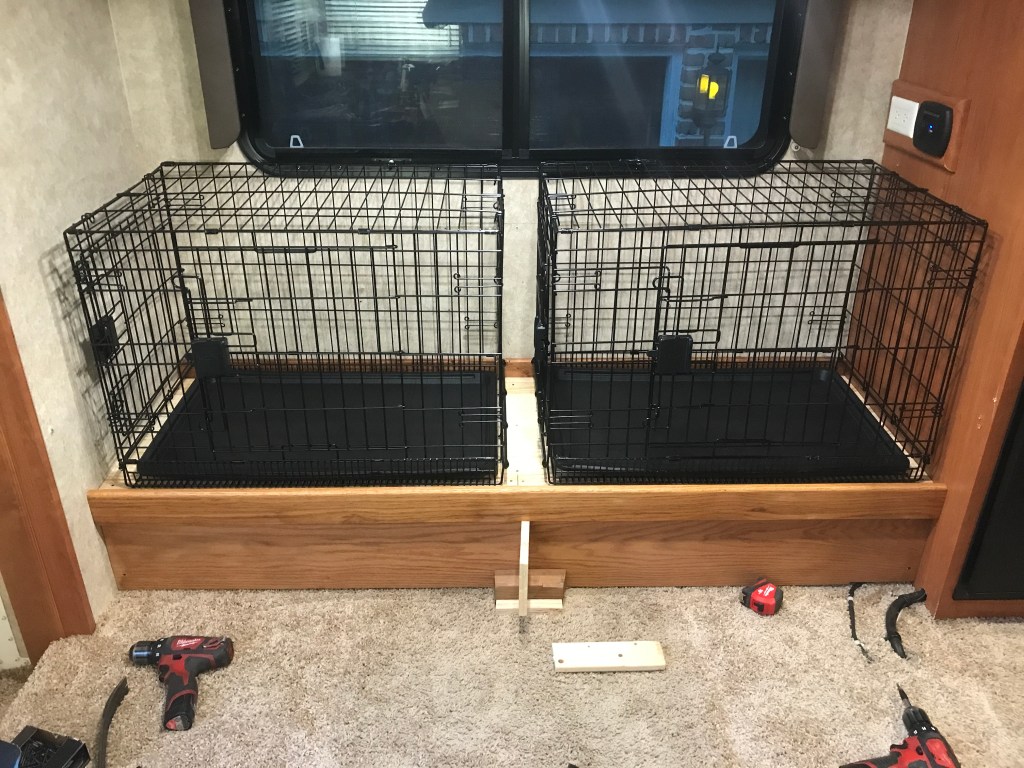
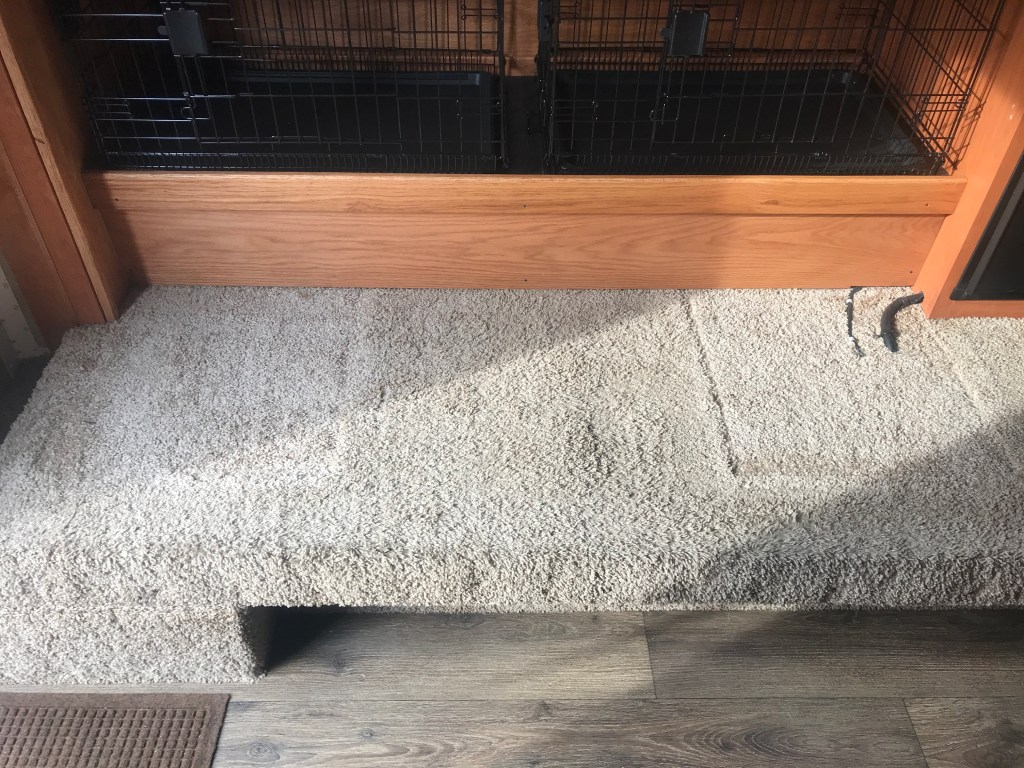
Another day of making saw dust later…….A few more pieces of trim and the shelf. Then on to seating. The platform the crates are sitting on gets black rubber.
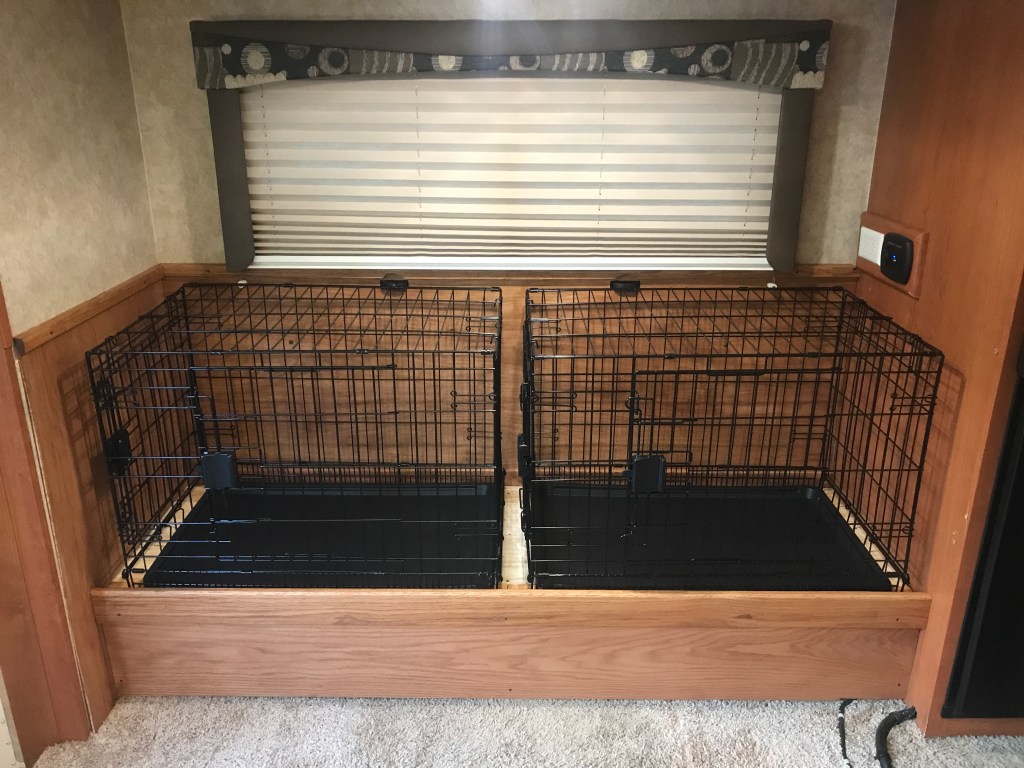
All trimmed out. My grand mother’s Köln salt jar (most likely pre-WWII) for artistic effect.
For those dying to know…… the wood I used is red oak, except the fiddles on the shelf which are Sapele. Trim was all cut on a table saw. Edges were rounded over with a router. Finish is a brush and wipe (10 seconds) with an at least 20 year old leftover bottom of the can resin laden stinky lumpy Minwax Cherry stain, immediately followed by a rich lathering of boiled linseed oil. Cut, sand, stain, wipe, oil wipe, install. All in one smooth process. Next piece.
To make the cushions I used 1/2″ birch ply backers, back and side not shown. This also took care of the fridge electric and gas supply.

Then I took an Amazon 6″ Twin mattress in a box, and a few leftovers I had and made the padding:

All that was left was the fabric which I stapled….. (Pneumatic T-50’s, 1/2″)
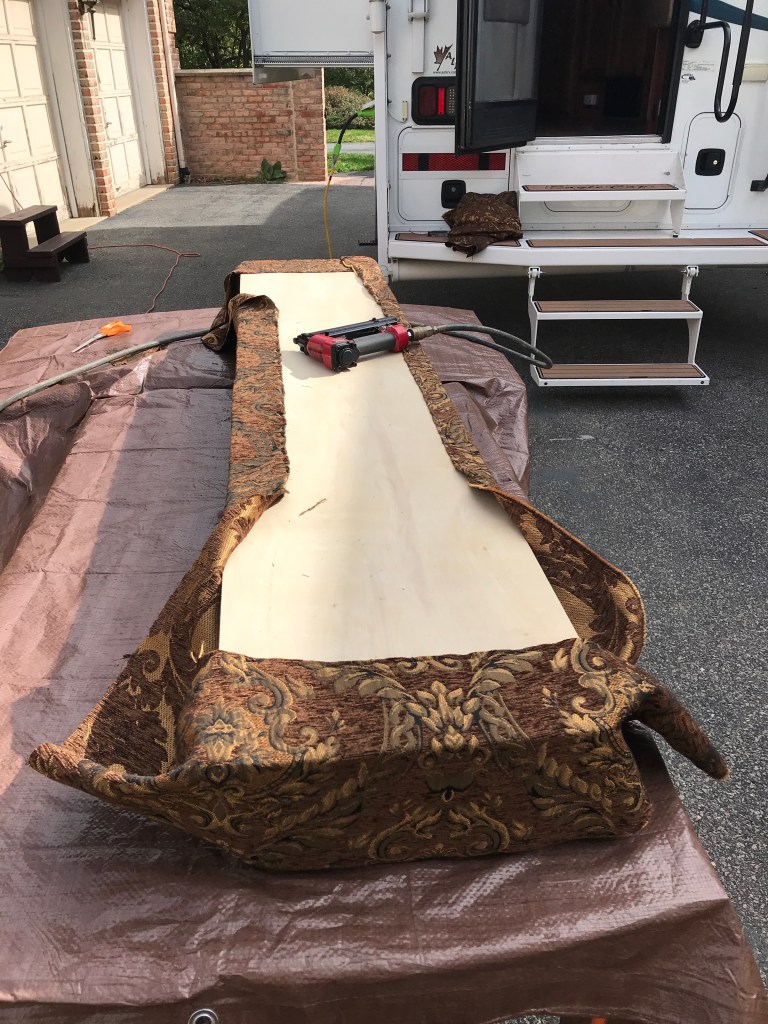
There, all done. Pretty happy with it and trust it will do the trick next time out……